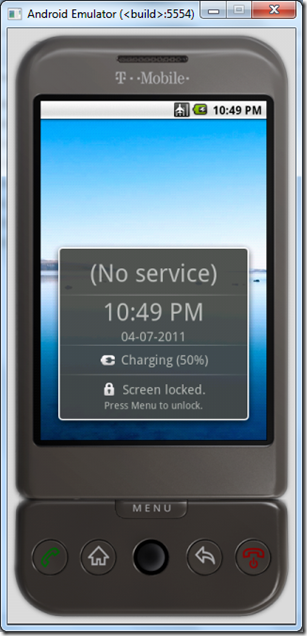
The real deal with Mobile web application development is testing it on multiple devices. So every one may not be able to buy all the mobile devices to test, especially with Android. Since we have many devices from multiple OEM’s and with different screen size, it’s not a feasible option to buy all devices and test. Thanks to Google for providing emulators to make our job easy!
I have already wrote an article on testing mobile web applications in Android Emulator, but it’s initial version of Android device and it’s depreciated now. So, i thought writing extension to that with latest tools available from Google.
In this article, i will show you how to setup Android Emulator to test your mobile web applications on Windows OS [Since, more people looking for a solution on this platform ![]() ].
].
- Download the Android SDK from this URL – Android SDK.
NOTE: There may be change of page layout in future, but i hope Google allow to download the Android SDK.
- It gives you option to download x86 or x64 version. It’s up to you to choose the right version for you. NO CONSTRAINTS. The SDK contains all the required tools to get started with developing Android apps, anyway it’s out of topic.
- Once you are done downloading, unzip it. You will see two folders and SDK Manager.exe.
- Click on the SDK Manager to launch. It launches the Android SDK Manager window.
- Now click on Tools –> Manage AVDs…
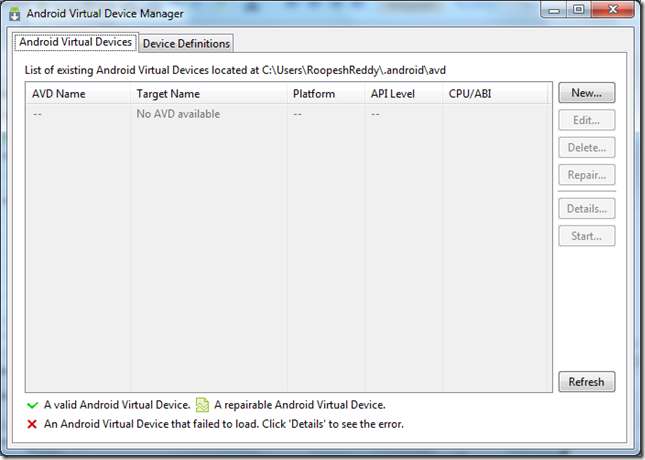
- It launches Android Virtual Device Manager window.
- Now, we need to create a new Android Virtual Device, by clicking on New… button.
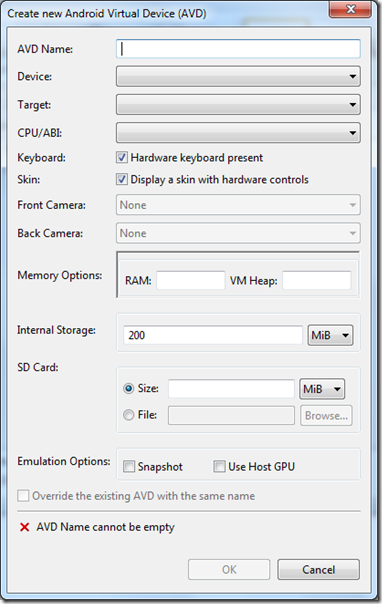
- When you click on New… button, it launches Create New Android Virtual Device (AVD) window.
- Enter AVD Name, select Device and Target. In the Device dropdown, you will get all the devices with different screen sizes including Android Tablets.
- Target has the recent Android Version list, which you can select the required one. Now, we have Android 4.2 Jelly Bean.
- You can leave the rest of the fields to their defaults, which we are not going to mess up. If you wish to play around with other fields too, you are free to do that. Again NO CONSTRAINTS.
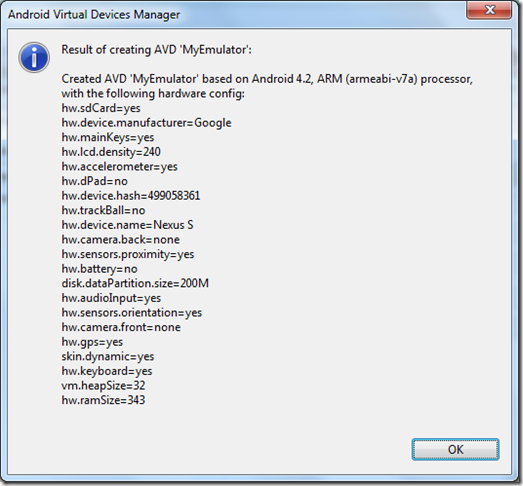
- On clicking on OK button, it shows message box, which summarizes the configuration of out emulator.
- Click OK button. Now the newly configured Android emulator is added to the list.
- Now select the newly created emulator and click on Start… button.
- It will invoke Launch Options dialog.
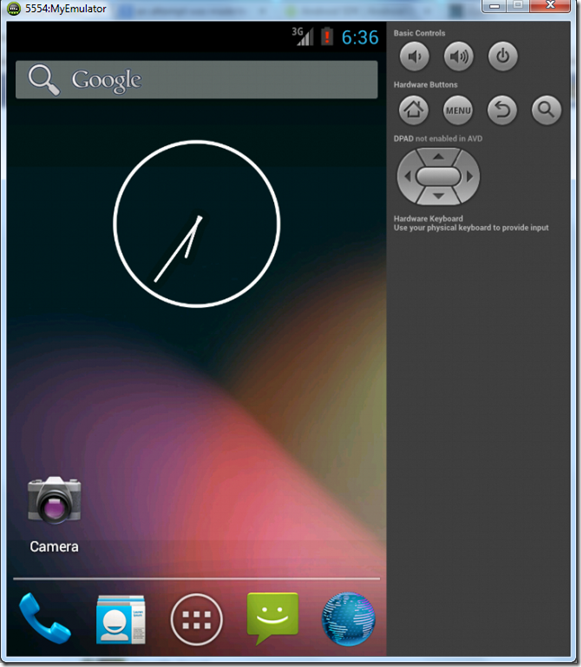
- Click on Launch button, by leaving the options to their defaults! It will launch the emulator

- Now we are ready to test our mobile web application.
- Launch the web browser in the emulator and test your applications!
NOTE: If you are testing your mobile web apps, that are deployed to local IIS, then you have to use IP Address instead of using localhost.
Happy mobile web application programming and testing!
Thanks!


